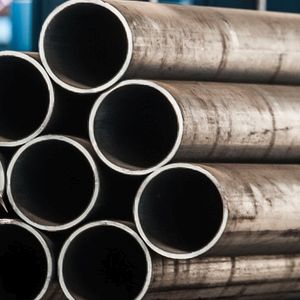
Weld inspection for longitudinal seam welded pipes in the production process
Inspection of the pipes directly in the production process,
conducted in production speed,
without couplant, up to 200°C
Industrial applications
Inspection of longitudinal seam welded pipes during the production
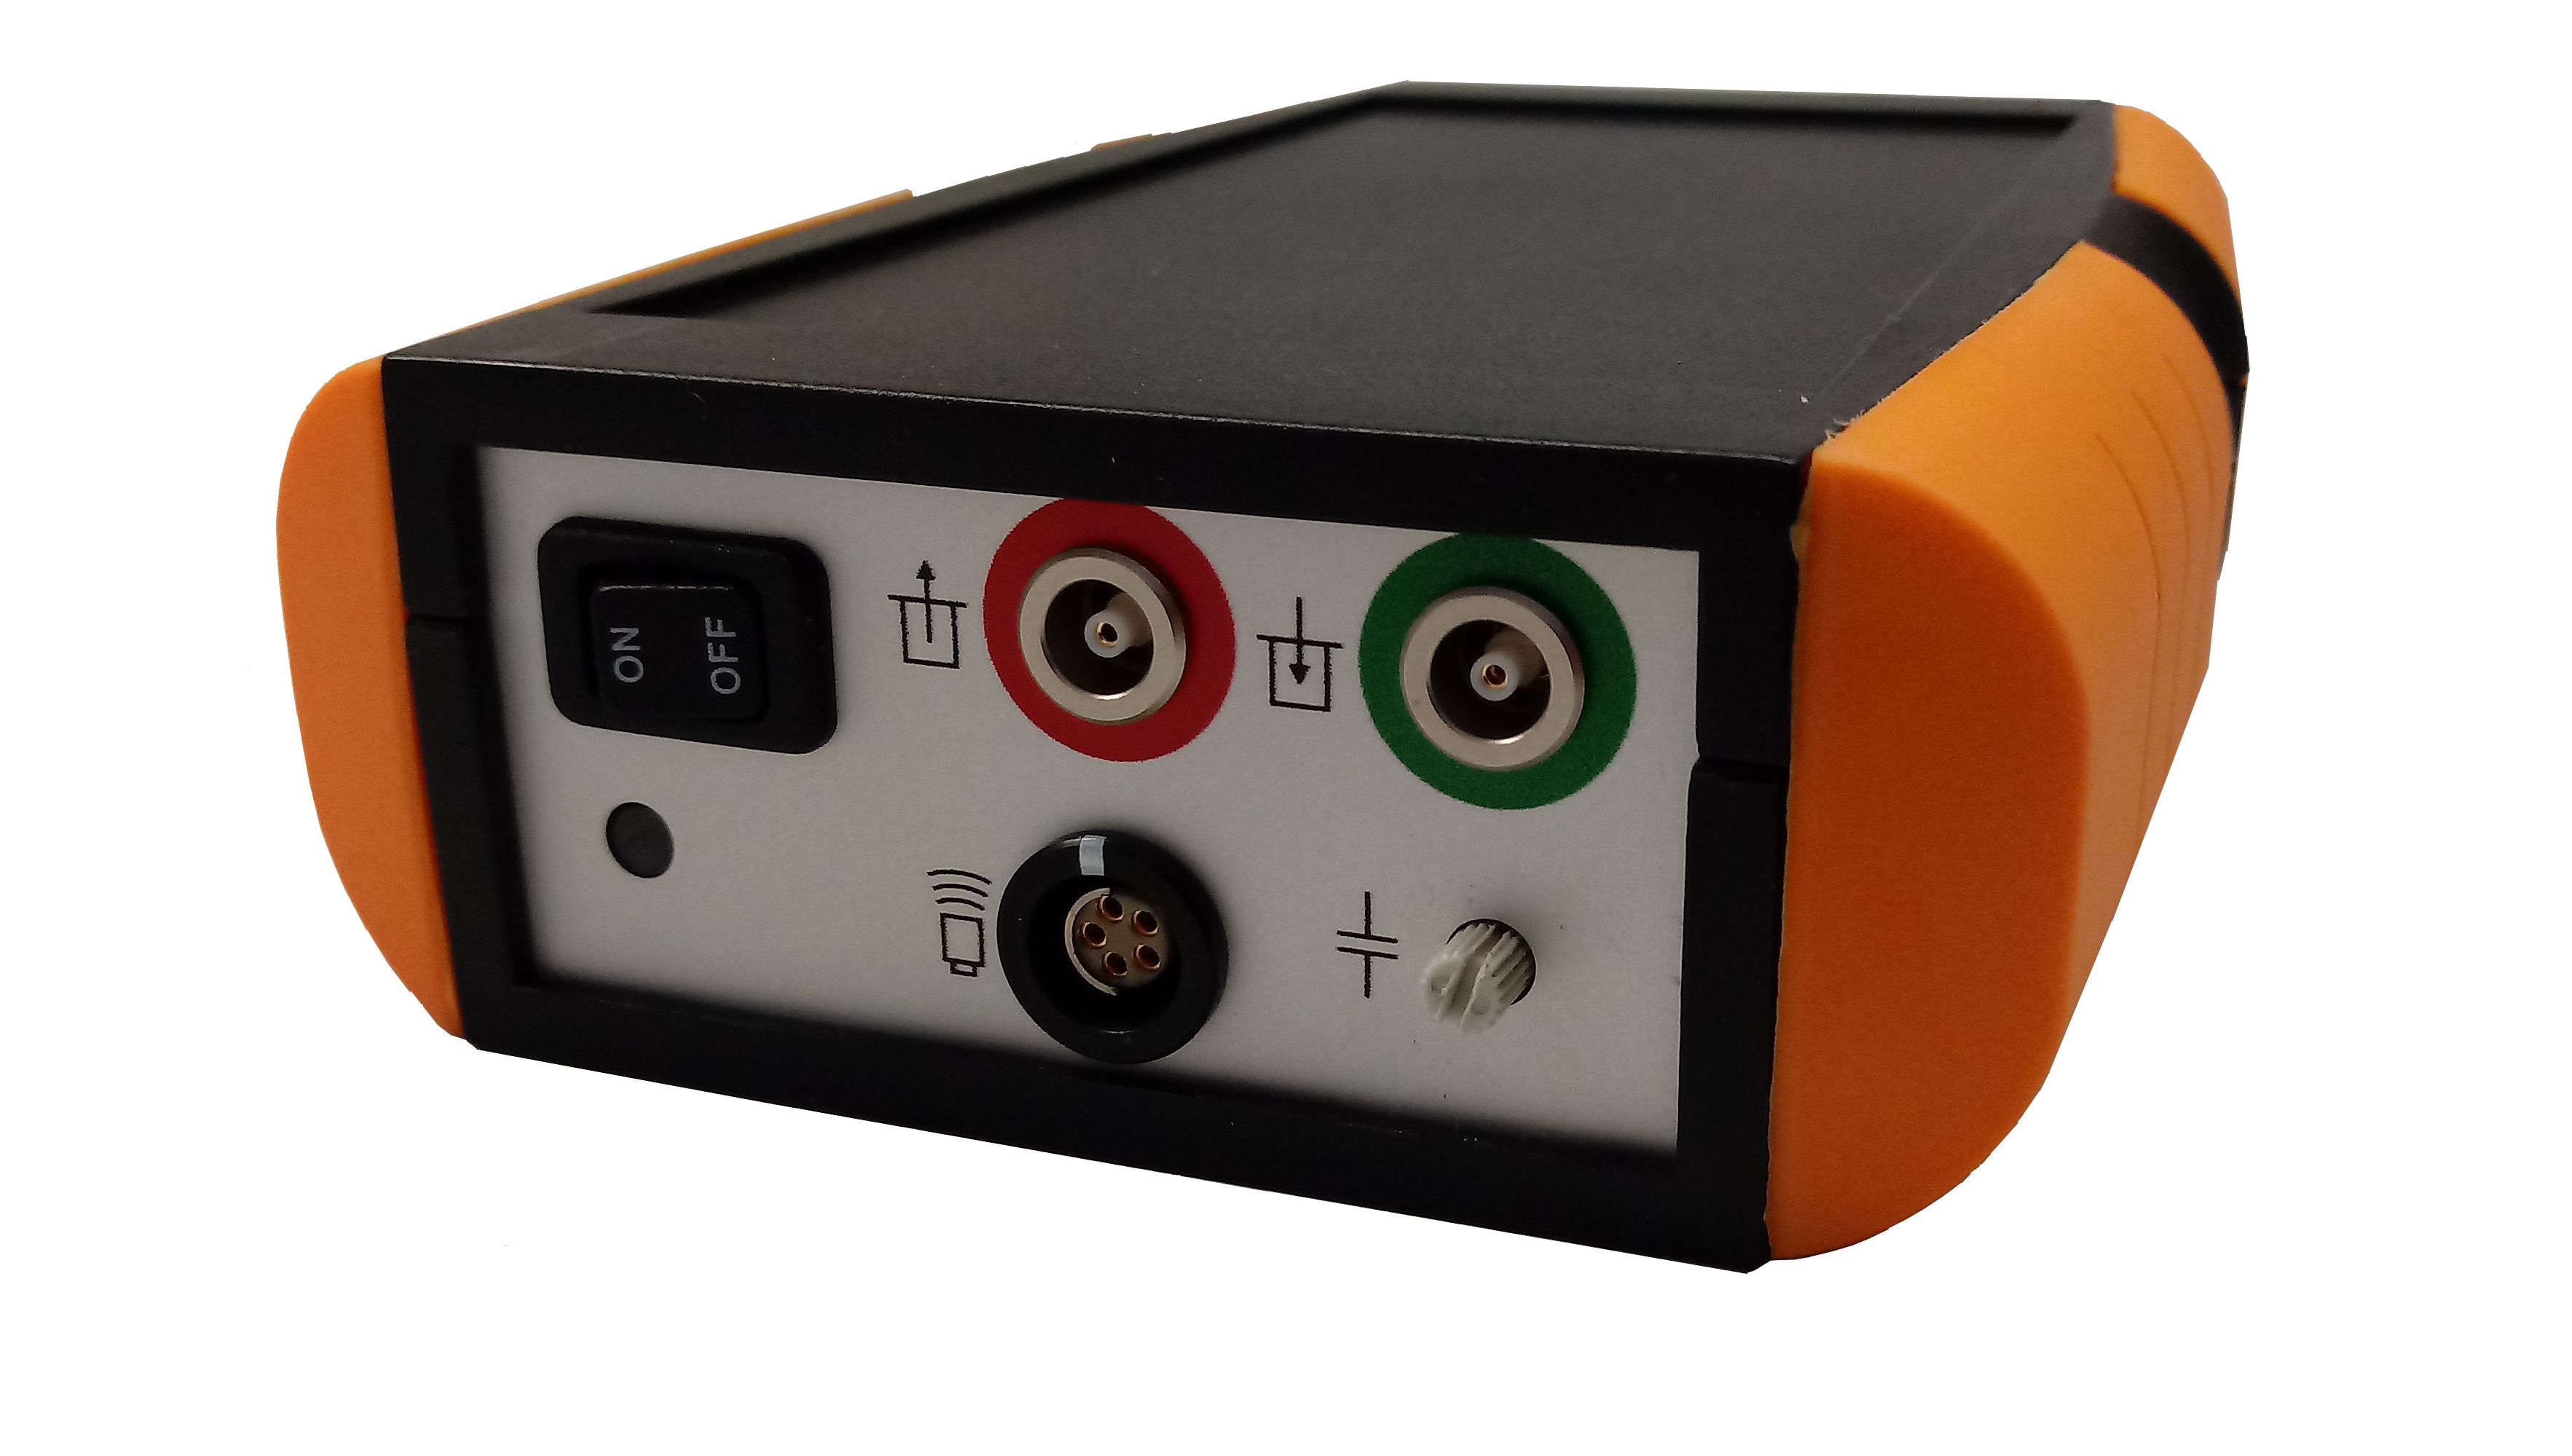
Suitable testing devices for Weld inspection of pipes with EMAT ultrasound technology
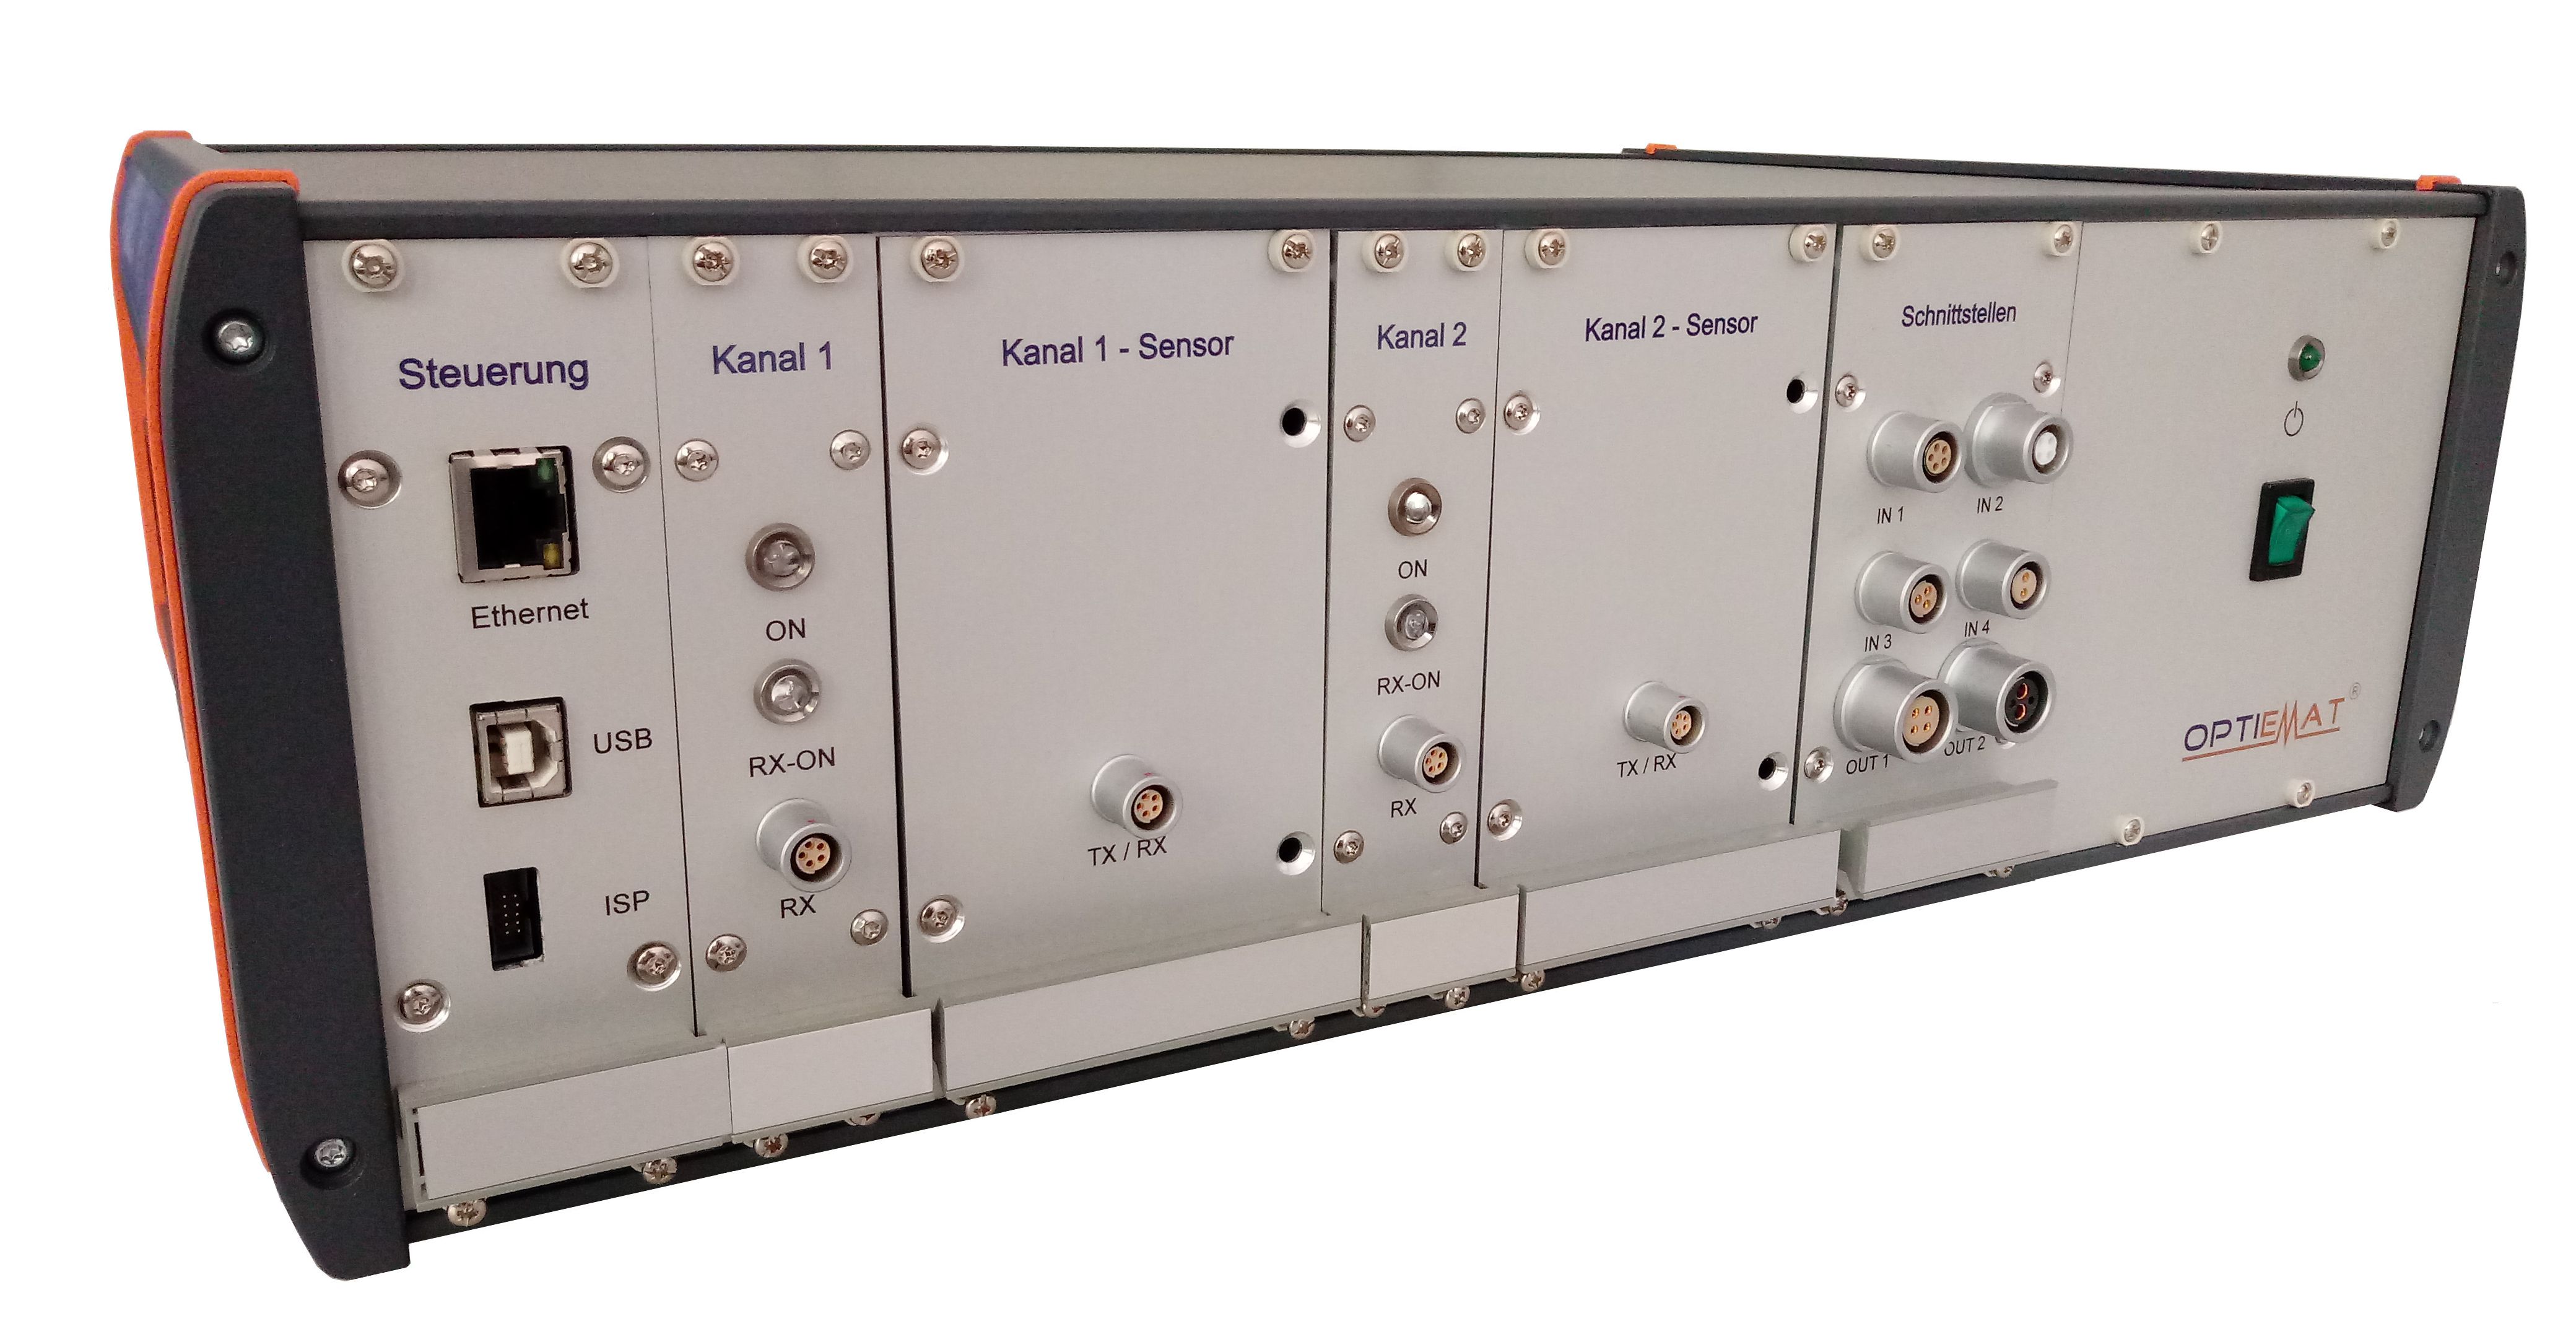 |
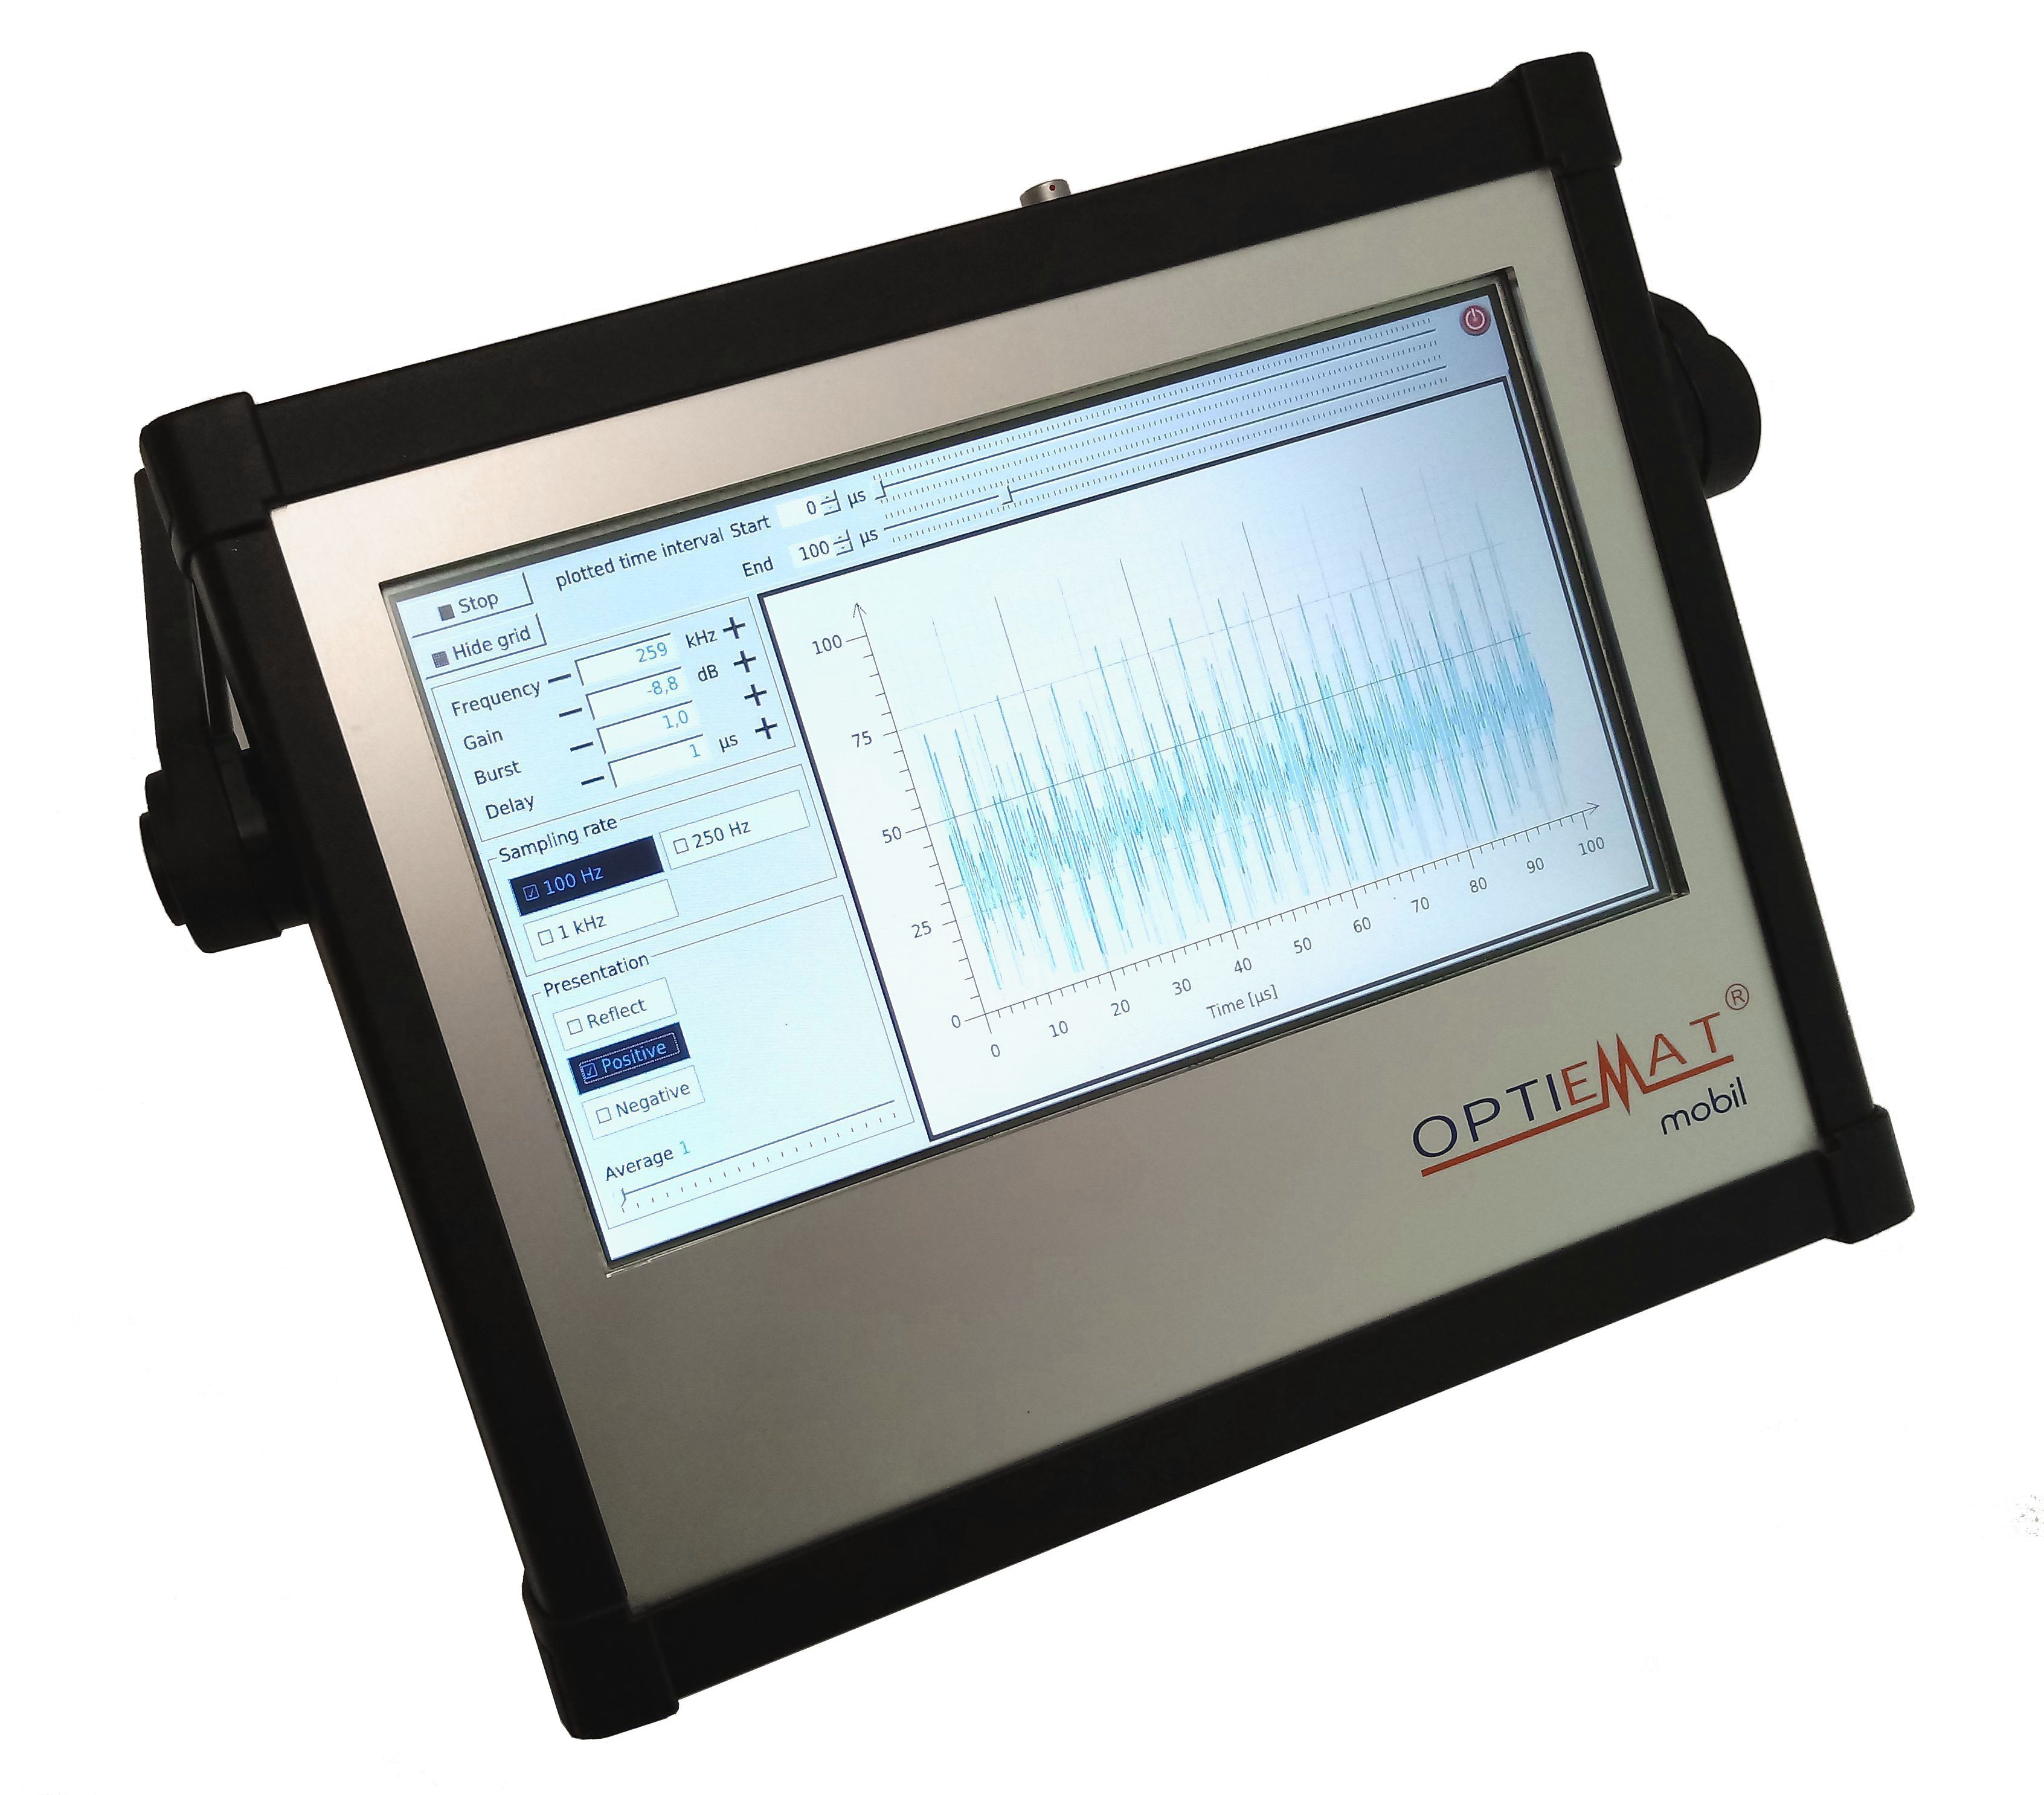 |
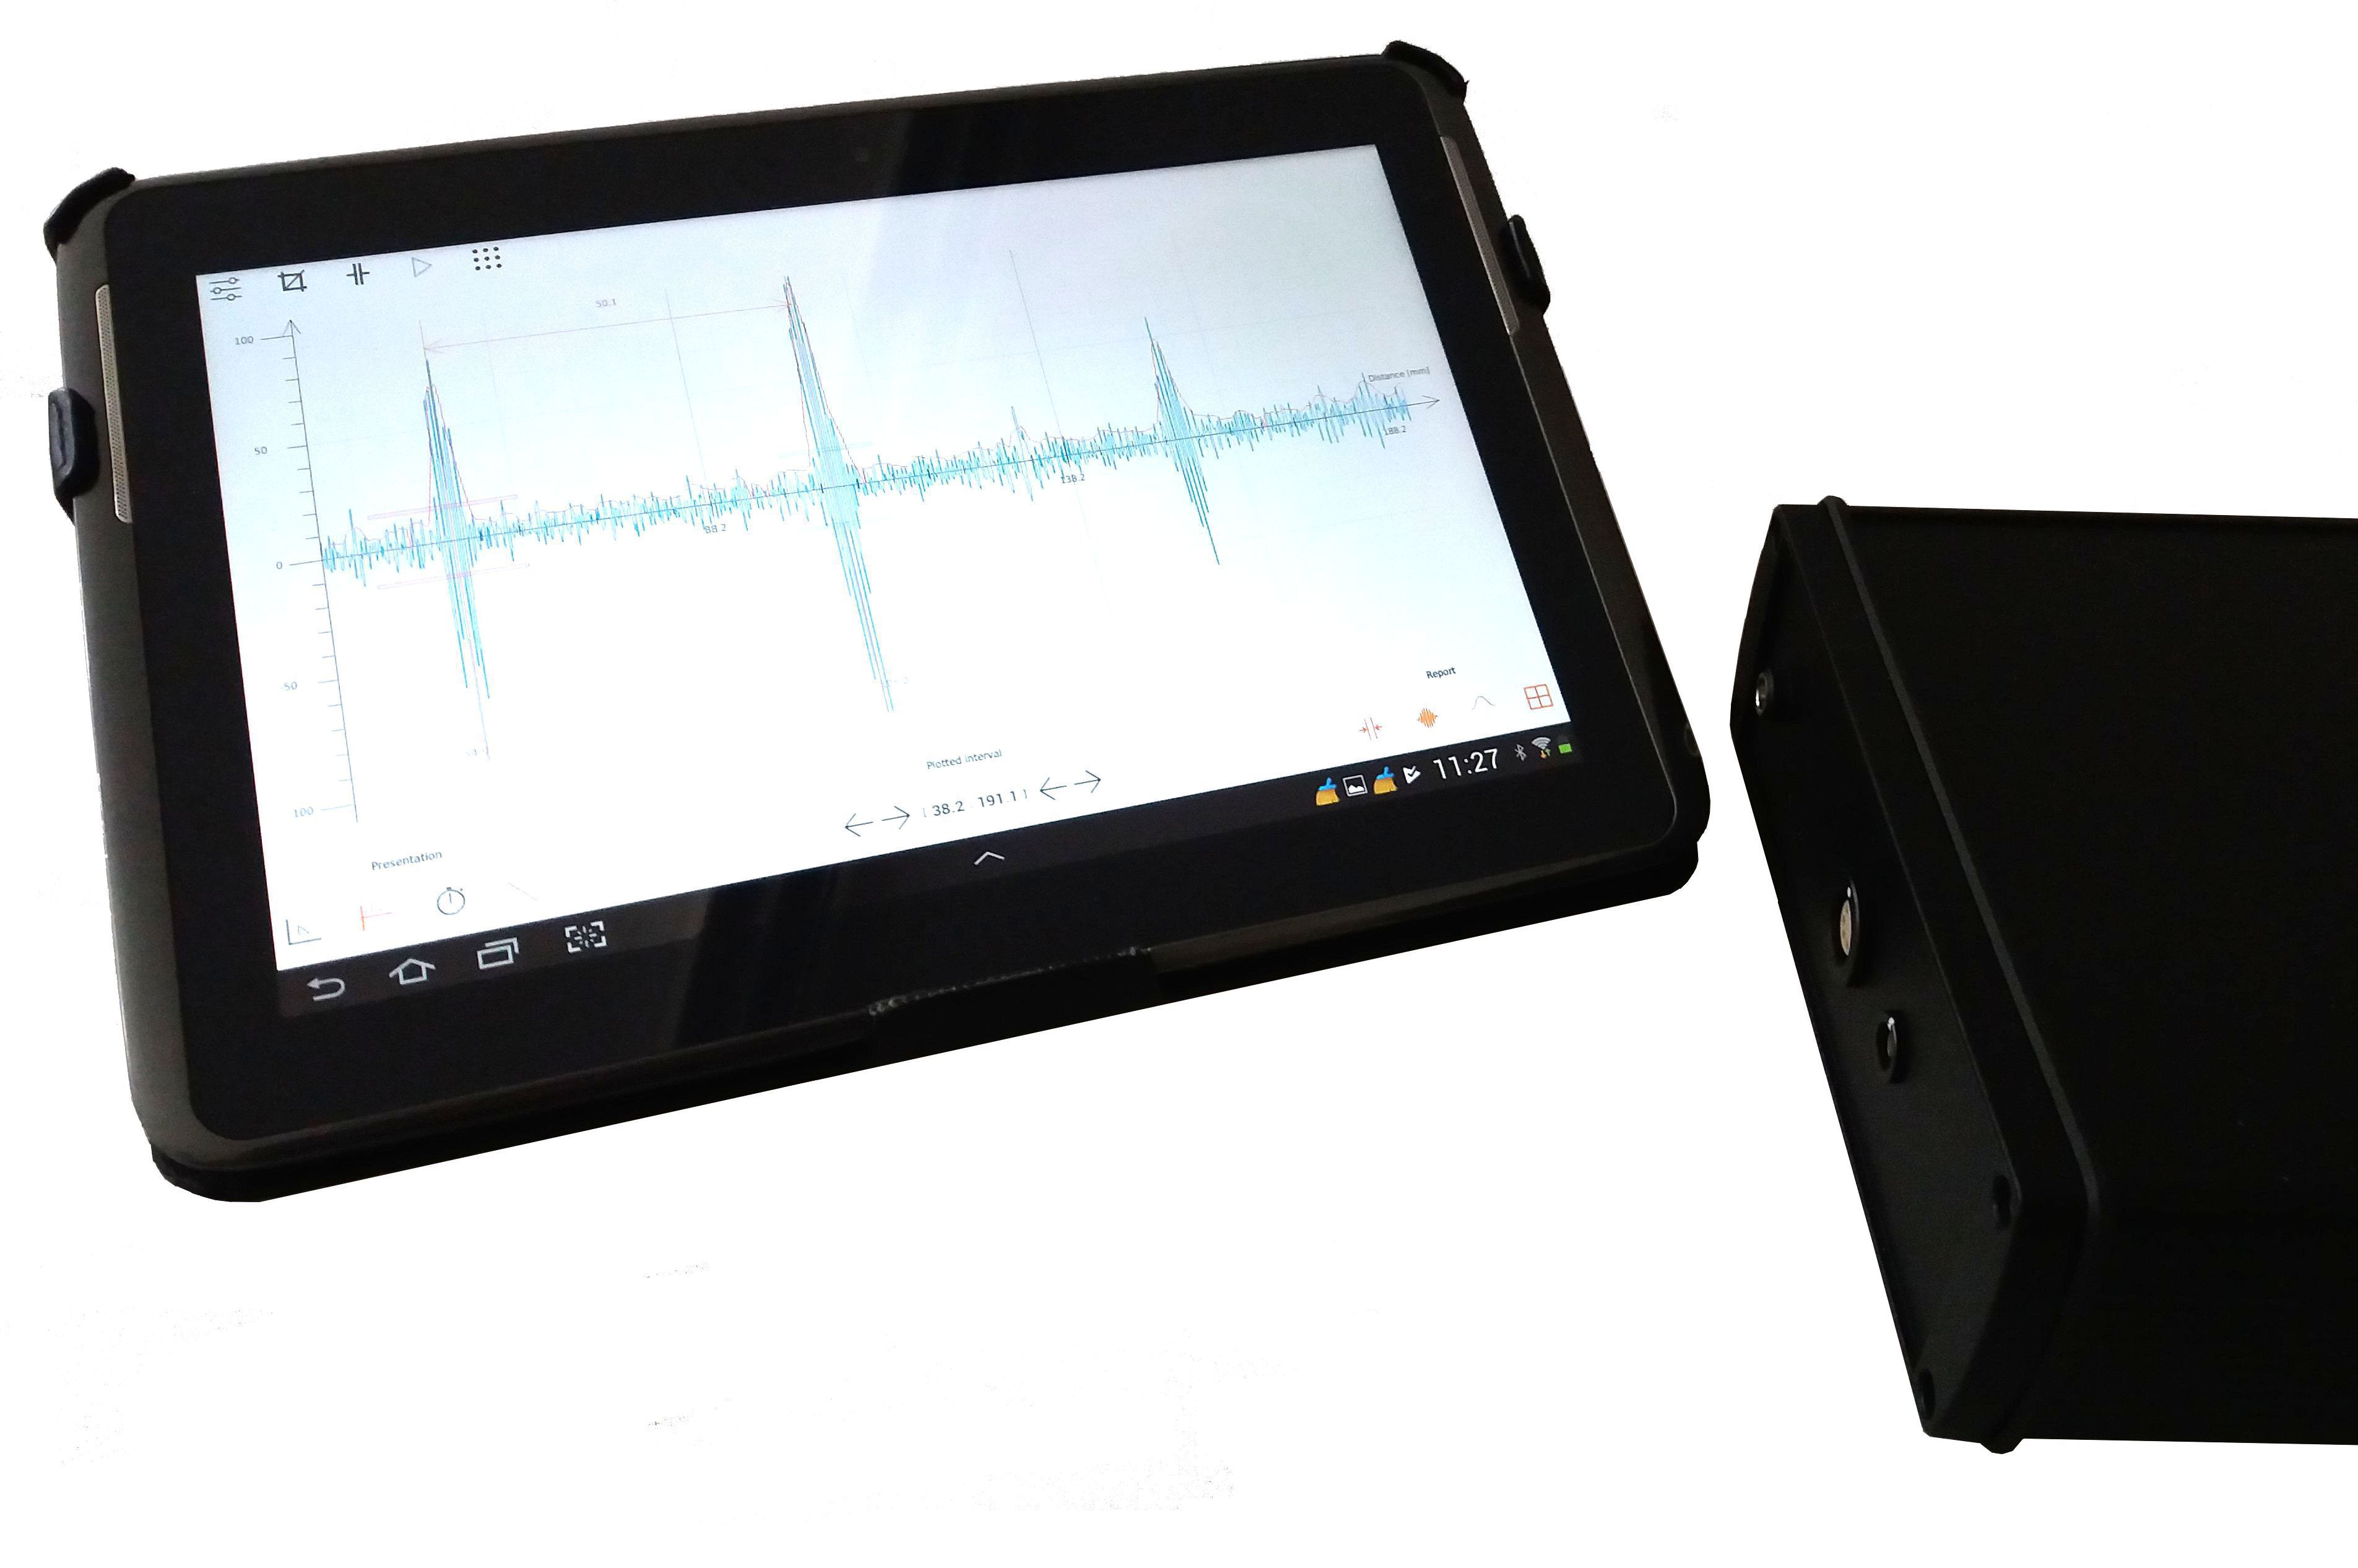 |
 |
| |
Operation mode and features
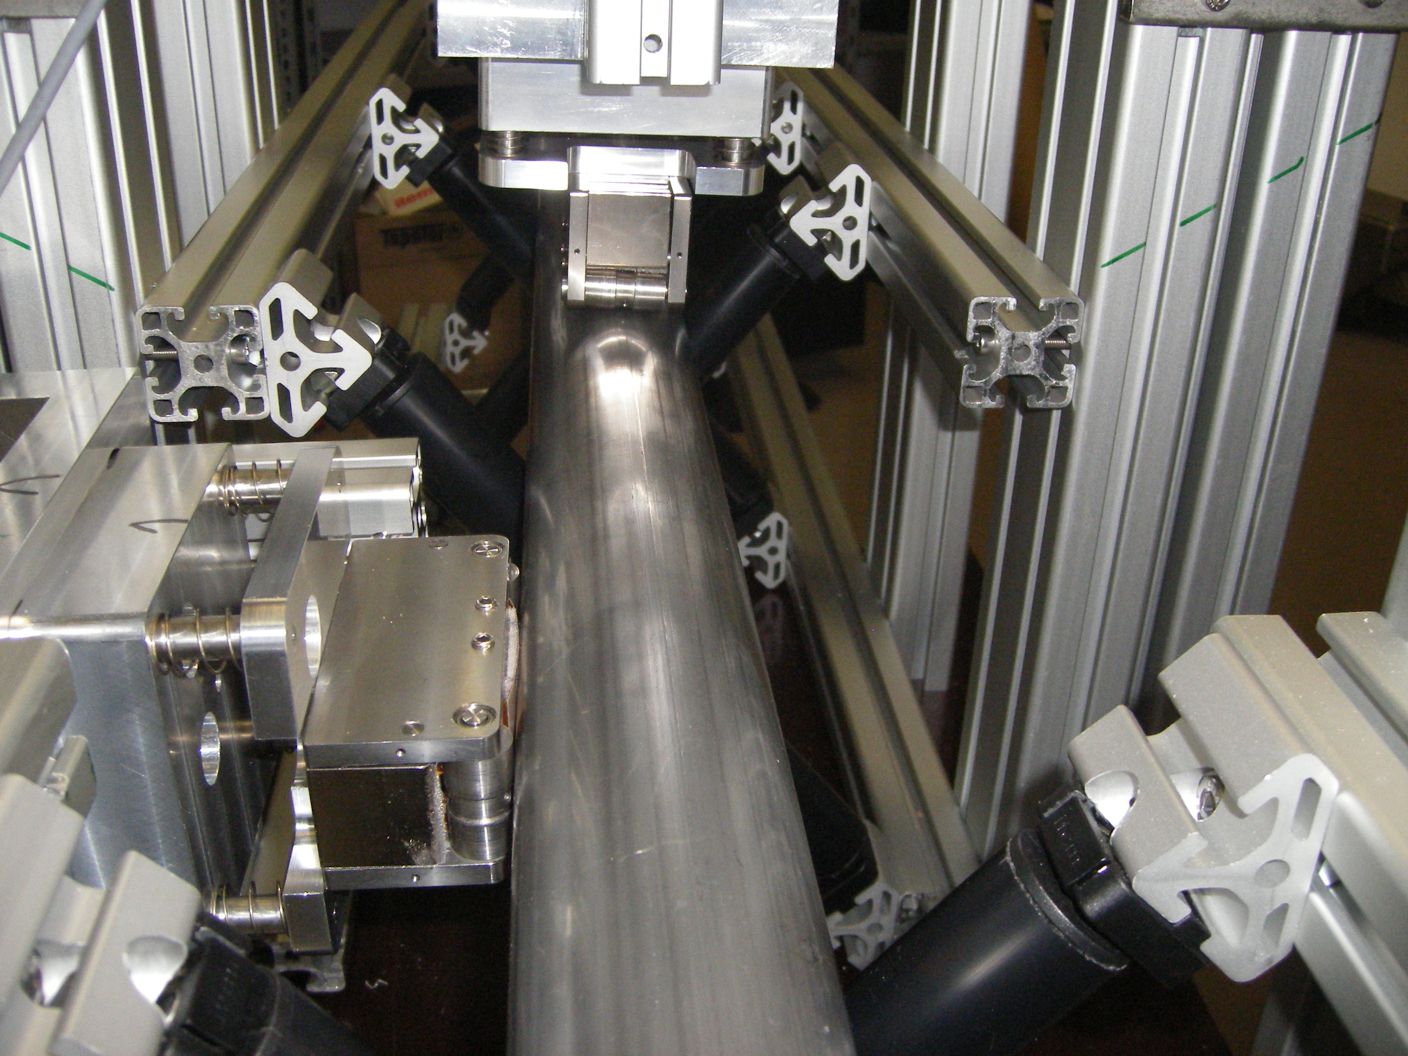
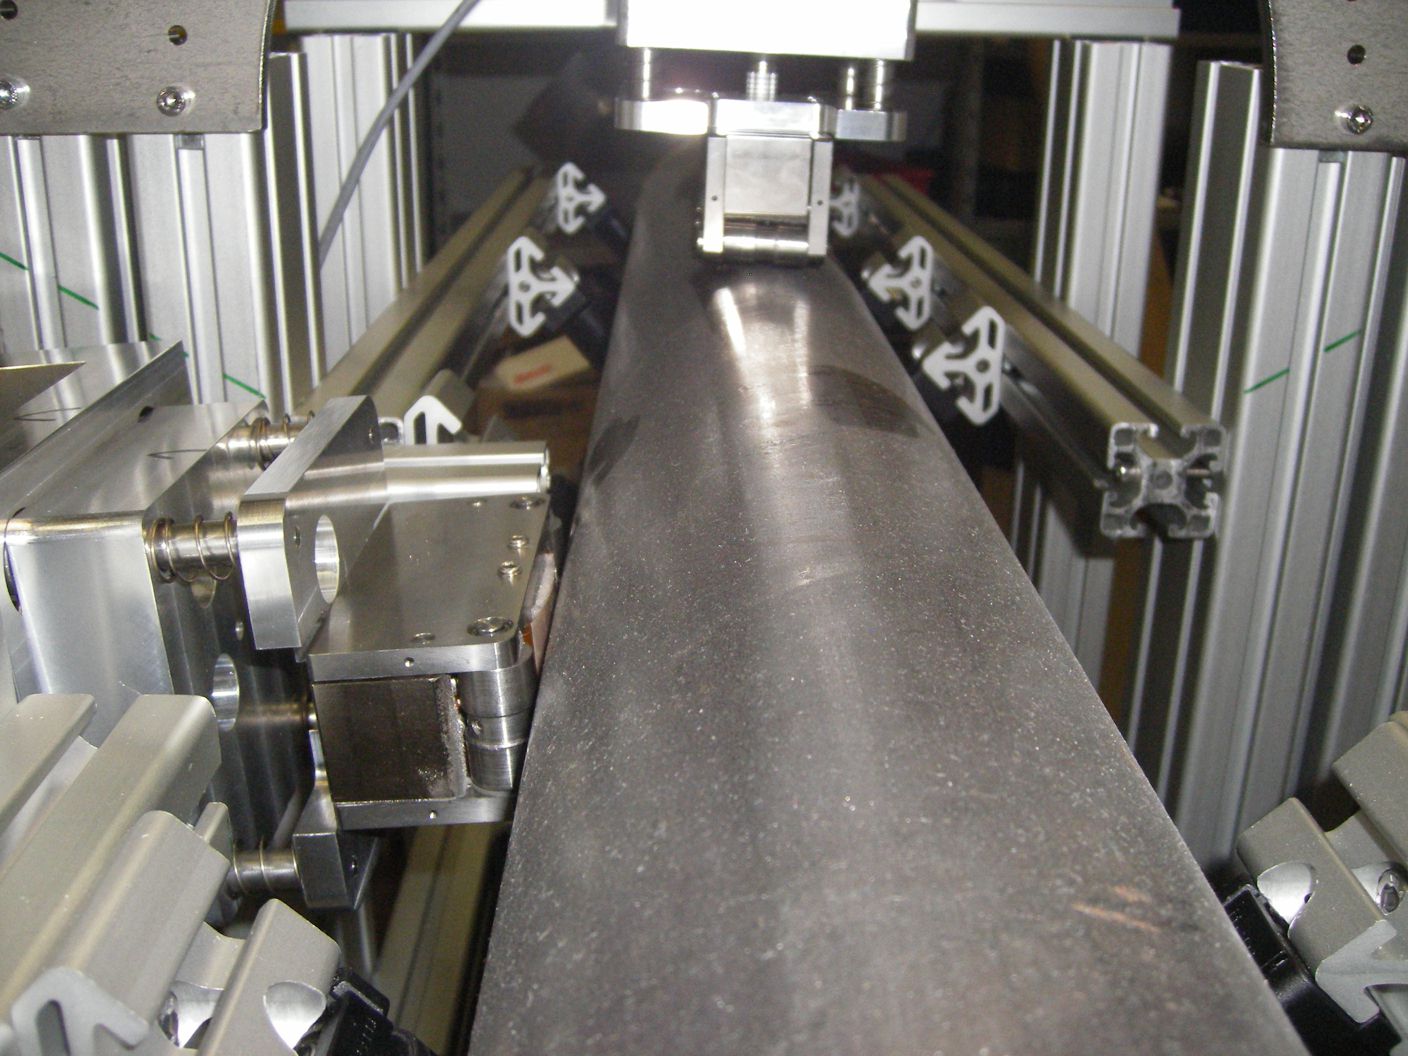
EMAT ultrasound can detect flaws in the weld seam and in pipes made from electrically conductive material (steel, aluminum, copper, ...) without coupling. Material temperatures, which are above the boiling temperature of coupling liquids, are therefore no difficulty for EMAT. Devices for the supply and removal of coupling are not required.
The welding seam and the material can be tested over the entire radius for pipes with an outer diameter >16mm.
 |
 |
Wall thicknesses up to 6mm are most suitable for EMAT pipe inspections.
In addition, the performance can decrease depending on the material (with regard to recognizable errors, test speed).
Longitudinal defects from 0.3mm depth, 0.2mm width, 2-3mm length and point defects from 0.5mm can be detected.
Four configuration types are possible during axial scan of pipes:
- One probe, Pulse-Echo-Mode (Transmitter = Receiver), Detection of reflections from the defect
- One probe, Pulse-Echo-Mode (Transmitter = Receiver), detection of attenuations of the defects
- Two probes, Transmitter≠Receiver-Mode with detection of reflections from the defects
- Two probes, Transmitter≠Receiver-Mode with detection of attenuations of the defects
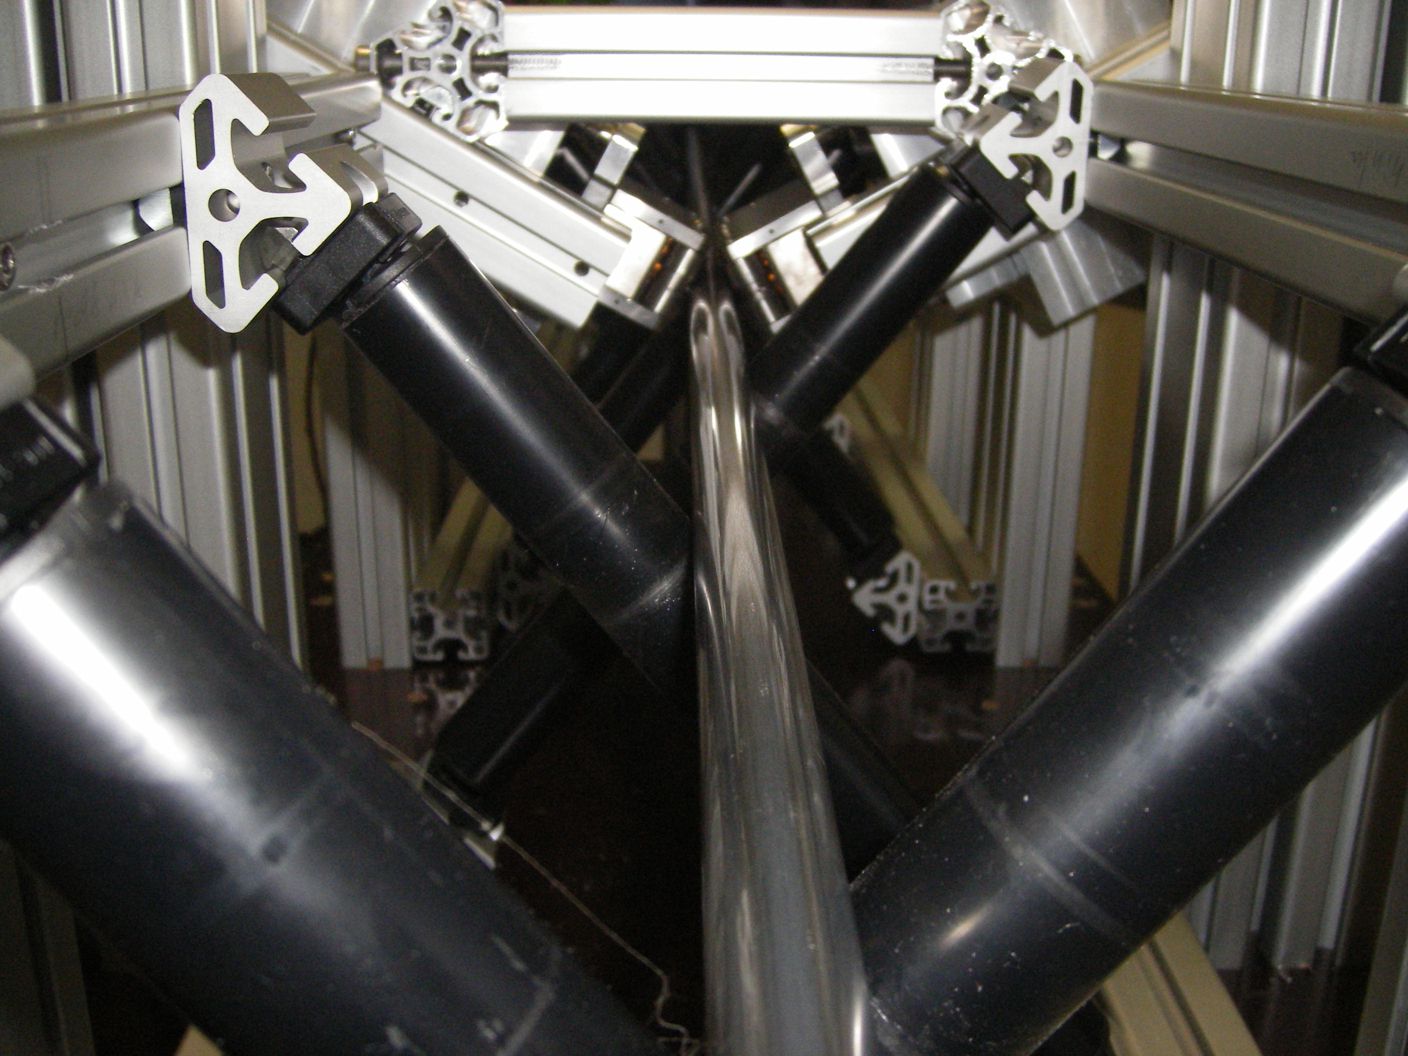
Radially running flaws can be detected by two probes which are opposite each other by 180°.
The welding seam is not important to have a fixed position or distance from the probe. Using a second probe, the "blind" area of the first probe can be inspected and so a 100% inspection of the pipe material is achieved.
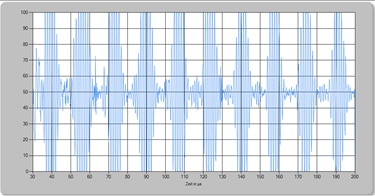
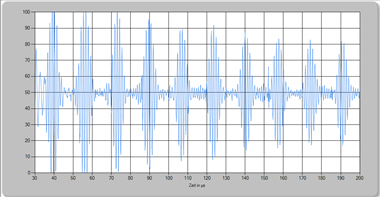
When working with the reflections of the defects, exceeding of the threshold lead to an alarm signal that can be used by the plant control to cut or to mark the pipes.

When working with attenuations, values below the threshold result in the alarm signal.
 |
 |
The entire inspection process can be recorded, test results can be related to the respective pipe piece.
Examples for test results:
 |
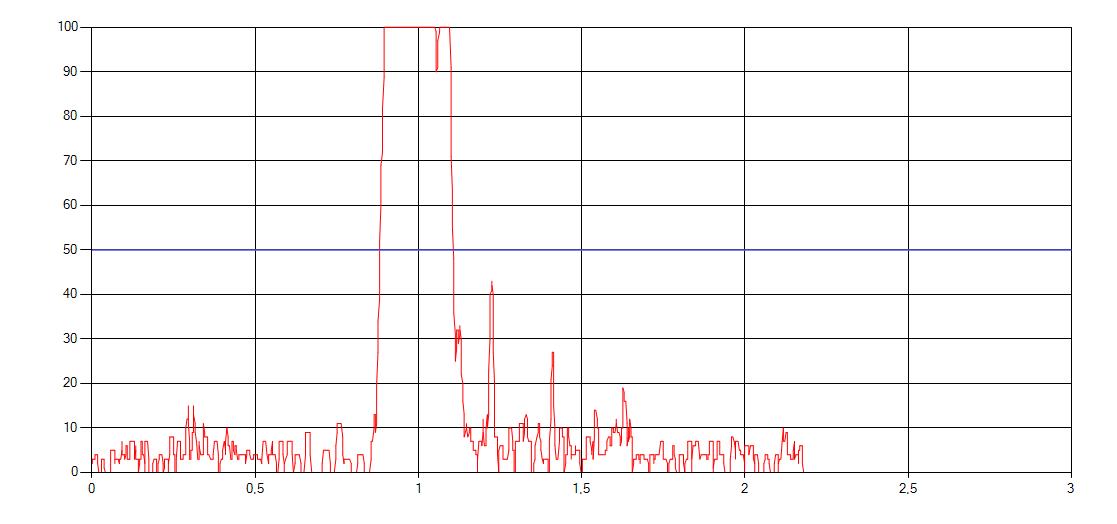 |
| short defect at a 2.2m long pipe piece | longer defect at a 2.2m long pipe piece |


